Using new to add a Map to a Project
We can use the new button to create a new Map for our project:
On the toolbar, click the New button.

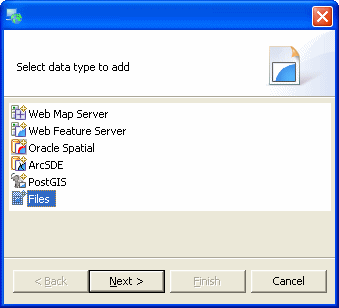
A dialog will open allowing you to choose the type of data you want to add to a map.

Select Files and press Next (or double click on Files)
Browse to your sample data directory (sample data)
Open the directory and select the file lakes.shp (You can select more than one file at a time)

Press Open
A new map (called Map1) will be opened, contained in the last selected Project.